3D Shape & Defects of Car Body Surfaces
Deflectometry-based absolute 3D shape measurements of freeform reflective and diffuse surfaces

On the subject of quality appearance
Quality control of car body parts has become a critical factor in the automotive industry, as competition between manufacturers is ever increasing. A customer's first impression of a car is undeniably linked to its exterior appearance, as flawless exteriors with smooth surfaces and edges are often perceived as a sign of quality and technical superiority.
Customers determine the exterior quality of a vehicle by assessing the accuracy of the reflection of linear textures, such as trees or walls, on a vehicle's surface (mirroring the process used in quality control with fluorescence light tubes).
In a customer's mind the exterior quality often translates as an indicator of the overall build quality and thus perceived value of a vehicle.
The OptiStamp solution provides a groundbreaking new approach to quality control of vehicle body parts which far exceeds the capabilities of current solutions.

Horizontal stripe reflection

Vertical stripe reflection

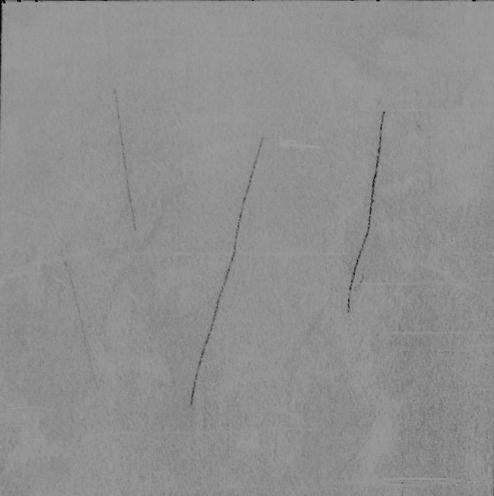
Close-up of detected scratches in the absolute 3D measurement

Horizontal stripe reflection

Deflectometry-based measurement using vertical patterns

Deflectometry-based measurement using horizontal patterns

Absolute 3D Form Measurement with Defect Overlay

Deflectometry-based measurement using vertical patterns
Defect detection at early production stages of raw metal sheets
The early detection of surface defects on raw sheet metal parts is a fundamental improvement over present solutions. Until now, typical defects like dents, bumps and waviness could not be observed at the early production stages due to the parts’ rough surfaces.
An identical inspection approach for raw material and final product quality control
Traditionally, the appearance quality of raw sheet metals used for vehicle body parts could not be measured due to the surface diffusing properties and lack of specular reflectiveness of the surface. Contrary to the final vehicle body panels which benefit from a higher specular reflectance from painting and lacquering.
The OptiStamp system doesn't discriminate between both states and offers an identical measurement capacity.
A technological breakthrough
To overcome these previous limitations, Virelux applies a new deflectometric approach.
This enables the OptiStamp system direct access to absolute 3D shape measurements of freeform car body surfaces, including detection of appearance defects on specular (reflective) and non-specular (diffuse) surfaces.

Door
OptiStamp 3D measurement of a raw stamped door panel

Hood
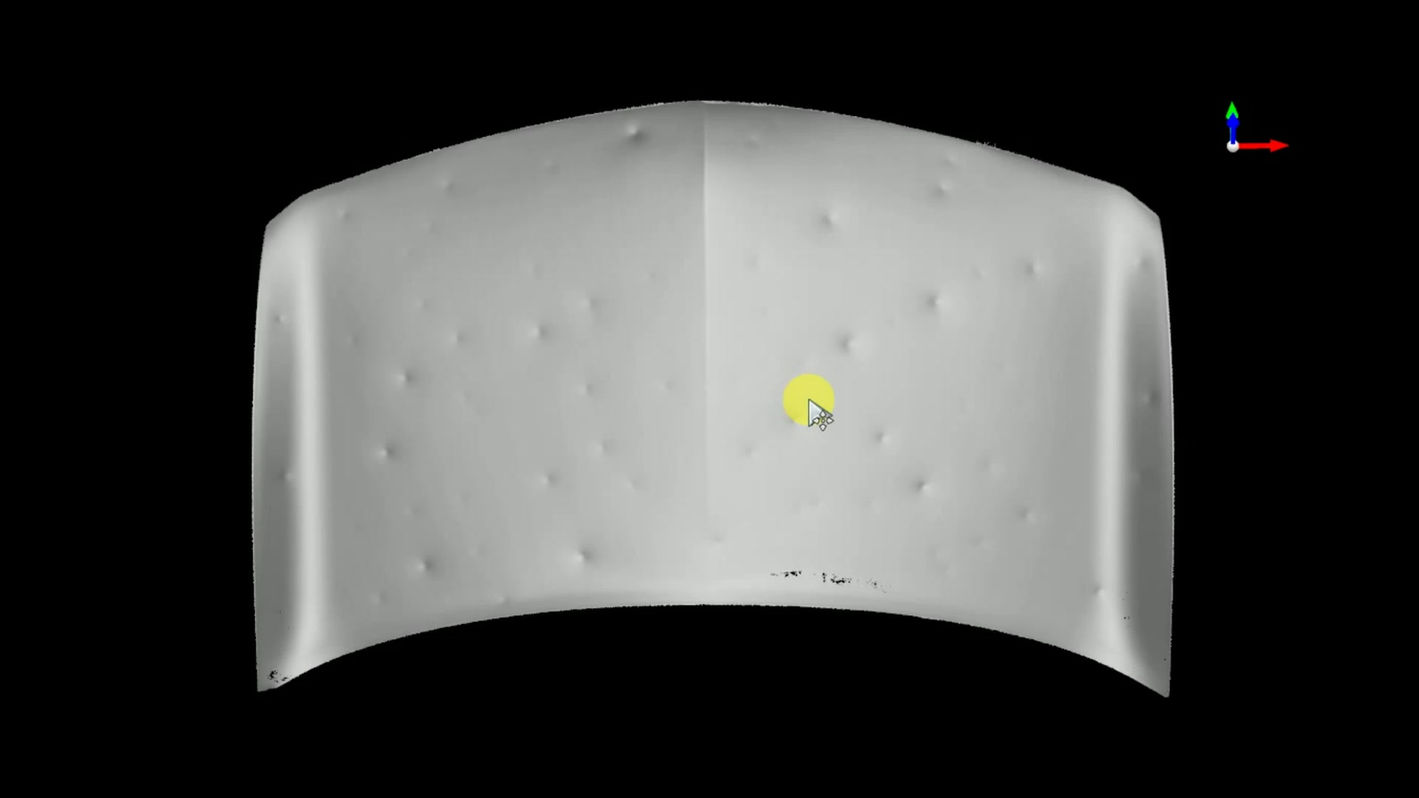
OptiStamp 3D measurement of a painted hood panel
The videos below show results obtained on a raw steel door (left) and on a painted hood containing defects (right).
The OptiStamp solution provides absolute 3D measurements, including absolute 3D information on shape, slope and curvature.
The measurements can also be enhanced with specific maps of small surface defects, such as scratches or dents.

Operators apply
special oil to improve the reflective properties and specularity of the observed surface

Visual assessment of the surface's appearance quality through observation of the reflection of static fluorescent light tubes on the surface
Stoning of the parts:
A stone block is used to polish the surface of a stamped panel while operators look for scratches on the surface


Operators apply
special oil to improve the reflective properties and specularity of the observed surface
Current methods are time consuming and are based on human observations,
entailing subjectivity, lack of repeatability and reproducibility !
Legacy Solutions: inefficient, manual processes
The OptiStamp Solution: A State-Of-The-Art Alternative


